Upload
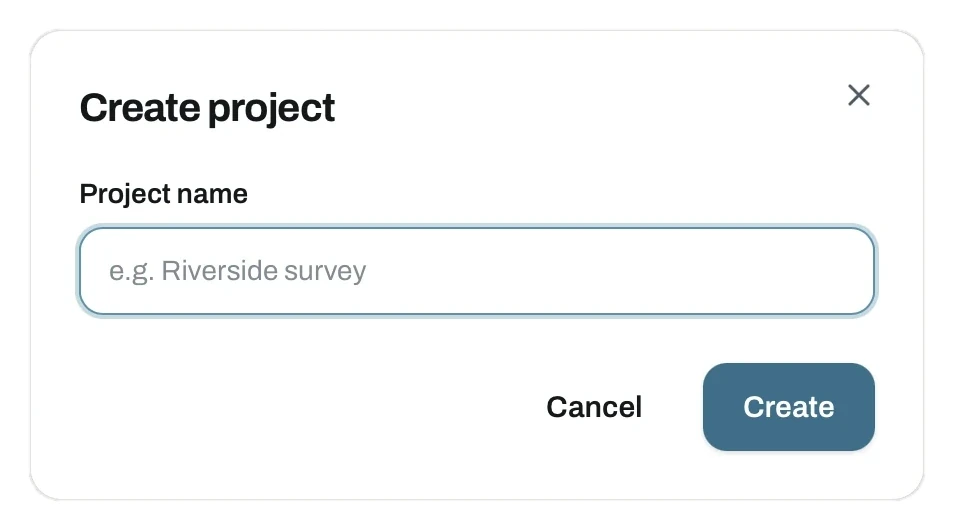
Create a project from the dashboard and give it a name. Pick something you will recognise later, such as the site or the flight date.
Then add the images from one flight. Drag and drop them, or use the browse button.
Supported formats
JPG · JPEG · PNG · TIF · TIFF
The check runs before the upload
As soon as you select the files, MapperTool reads their EXIF and reports on the dataset. This happens on your own machine, before a single byte is transferred.
- Five things are verified: GPS, altitude, camera, timestamp and gimbal pitch.
- The report also estimates overlap, GSD, covered area, flight duration and the sensor type in the set.
- Problems with the dataset surface before the project is processed.
- You can correct the selection, or re-fly the area, and check it again.
The flow
- Create a project and name it.
- Select the images from one flight.
- Read the quality check report.
- Start the upload, and keep the window open until it finishes.
- Choose your outputs and start the job.
Good to know
Multispectral and thermal flights can be uploaded together with the ordinary RGB images. The platform separates them by sensor and processes each as its own layer inside one project.
Tip
Most warnings trace back to the flight, not the files. See flight basics to stop them recurring.
In this section
04.01Uploading your imagesHow to upload images to a MapperTool project. Supported formats, drag and drop, uploaded and remaining size, time left, and the per-file list.04.02Quality checkMapperTool checks GPS, altitude, camera, timestamp and gimbal pitch before the upload, and reports overlap, GSD, covered area and flight duration.