Uploading your images
Open a project and drop the images into it, or use Browse files to pick them from your computer.
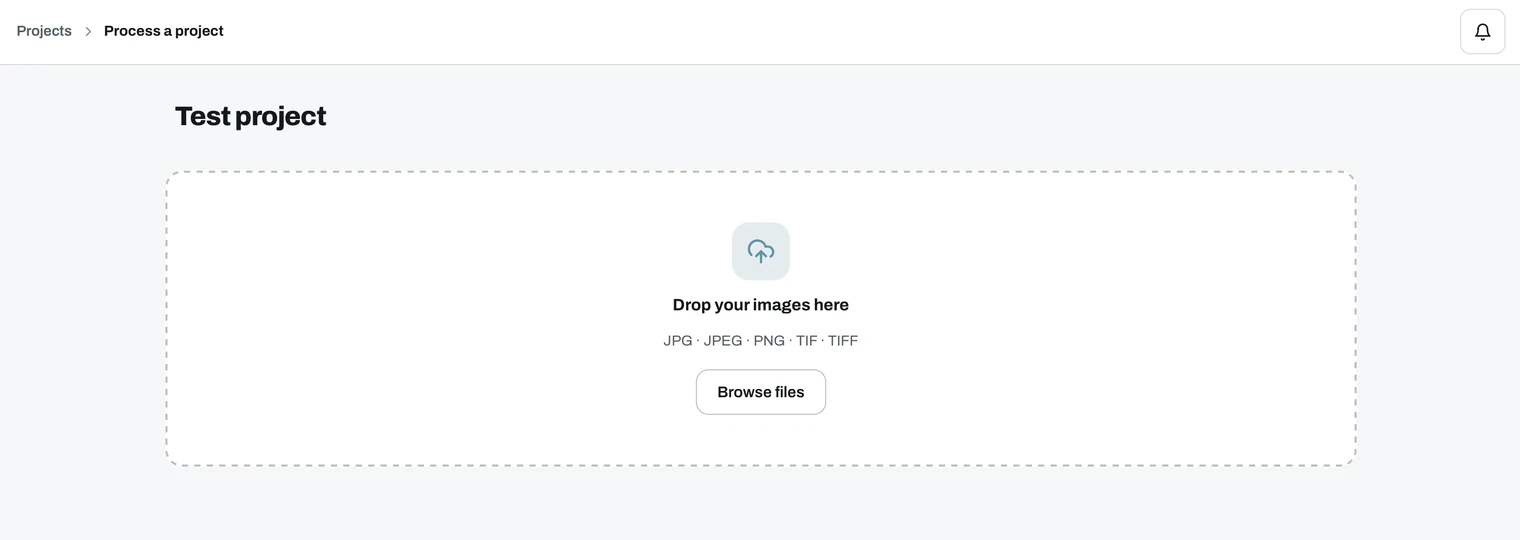
Accepted formats: JPG · JPEG · PNG · TIF · TIFF
The quality check runs on the selected files first, so you know what you are working with before the transfer starts.
While the upload runs

The progress panel shows:
- Uploaded, remaining and total size.
- The estimated time left.
- A percentage bar for the whole set.
- Show all files, which expands the per-file list so you can see what has arrived.
Warning
Do not close the window or navigate away during the upload. Leaving the page interrupts the transfer, and the files still in the queue will not arrive.
What to upload
- One flight per project. Or several flights over the same area. The check and the reconstruction treat the set as one dataset.
- RGB and special imagery together. Multispectral or thermal images can go in alongside the ordinary ones. Each sensor is processed into its own layer within the same project.
- The original files straight from the camera, with their EXIF intact. See image requirements.
- Within your plan's image limit. The card shows your count against the limit, for example 390 / 3000. See pricing.
When the upload finishes, continue to outputs and start the job.