3D point cloud viewer
If your project includes a 3D point cloud, switch to 3D point cloud at the top of the viewer. Nothing to install.
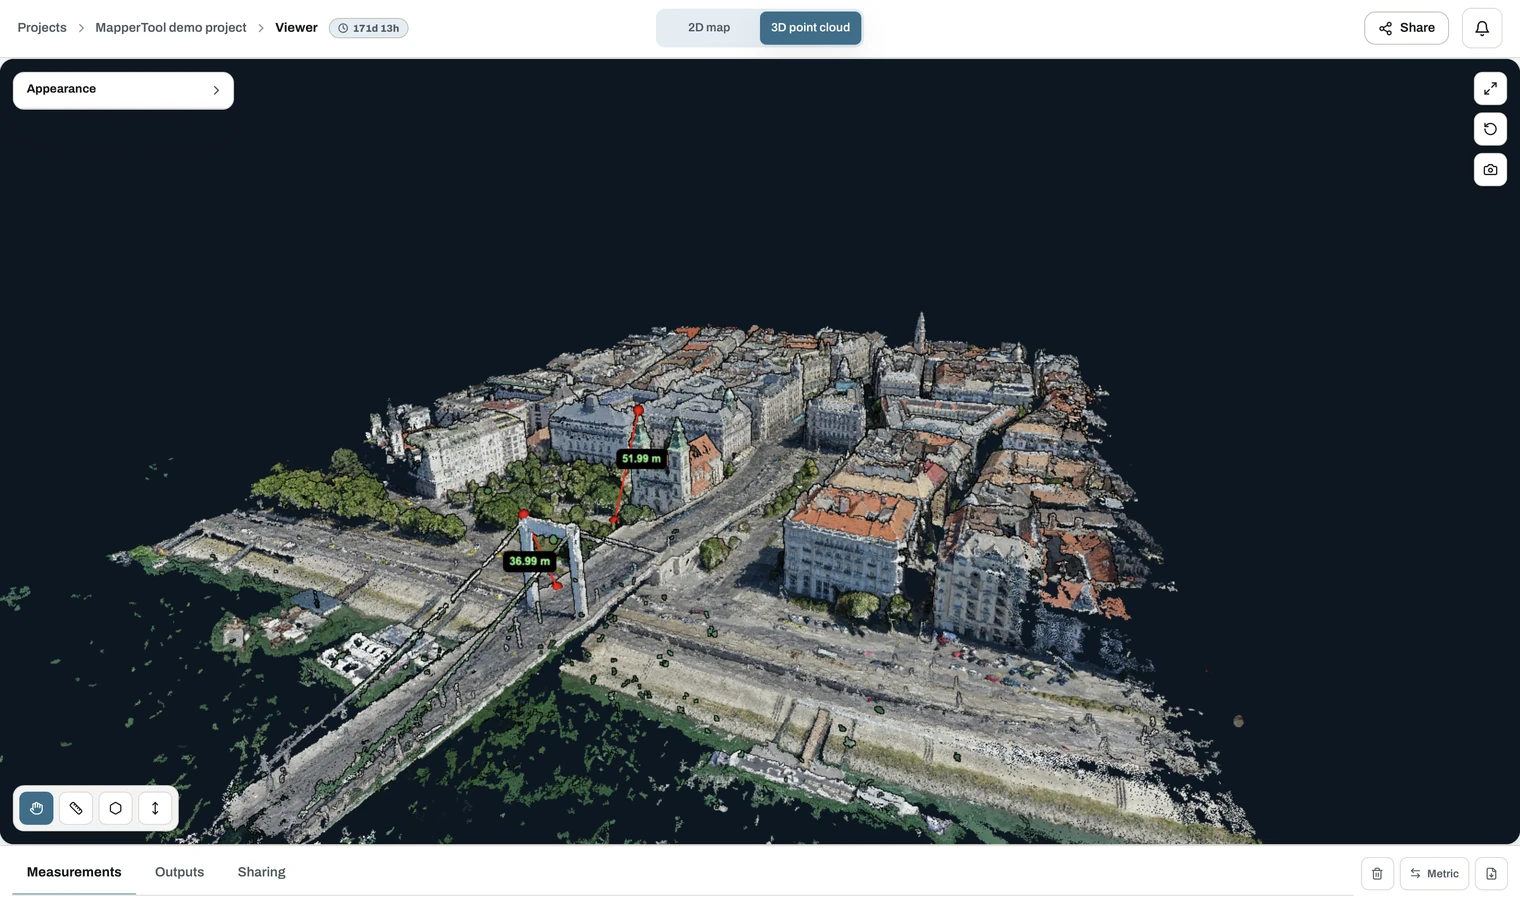
Navigation
- Orbit. Rotate the view around the scene.
- Pan. Shift sideways to move across the site.
- Zoom. Move in for detail, pull back for an overview.
- Camera presets. Jump to Top, Oblique or Perspective.
- Reset view, fullscreen and screenshot sit in the top right corner.
The coordinates and elevation under your cursor are shown in the bottom right corner, so you can read a position without drawing anything.
Appearance settings
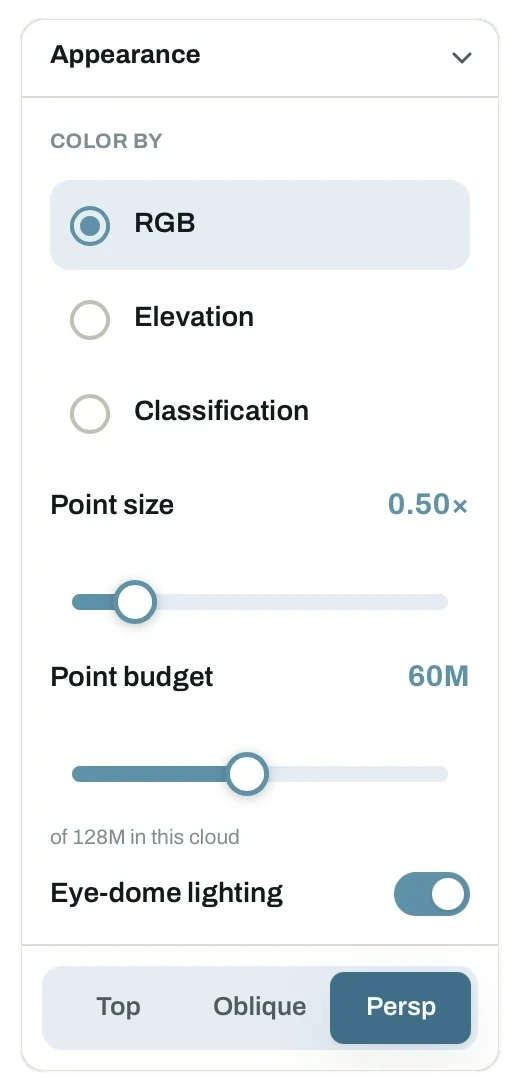
Point clouds are large, so the Appearance panel lets you trade detail against performance.
- Colour by RGB. The real photo colours, the default.
- Colour by elevation. Height instead of colour, which makes terrain shape and level differences obvious.
- Colour by classification. The classified point groups, such as ground versus vegetation.
- Point size. Larger points close visual gaps and make the surface read as solid. Smaller points show fine structure.
- Point budget. How many points are drawn at once, against the total in the cloud. Lower it for faster loading, raise it for more detail.
- Eye-dome lighting. Shading that emphasises edges and depth. Worth leaving on, it makes structures far easier to read.
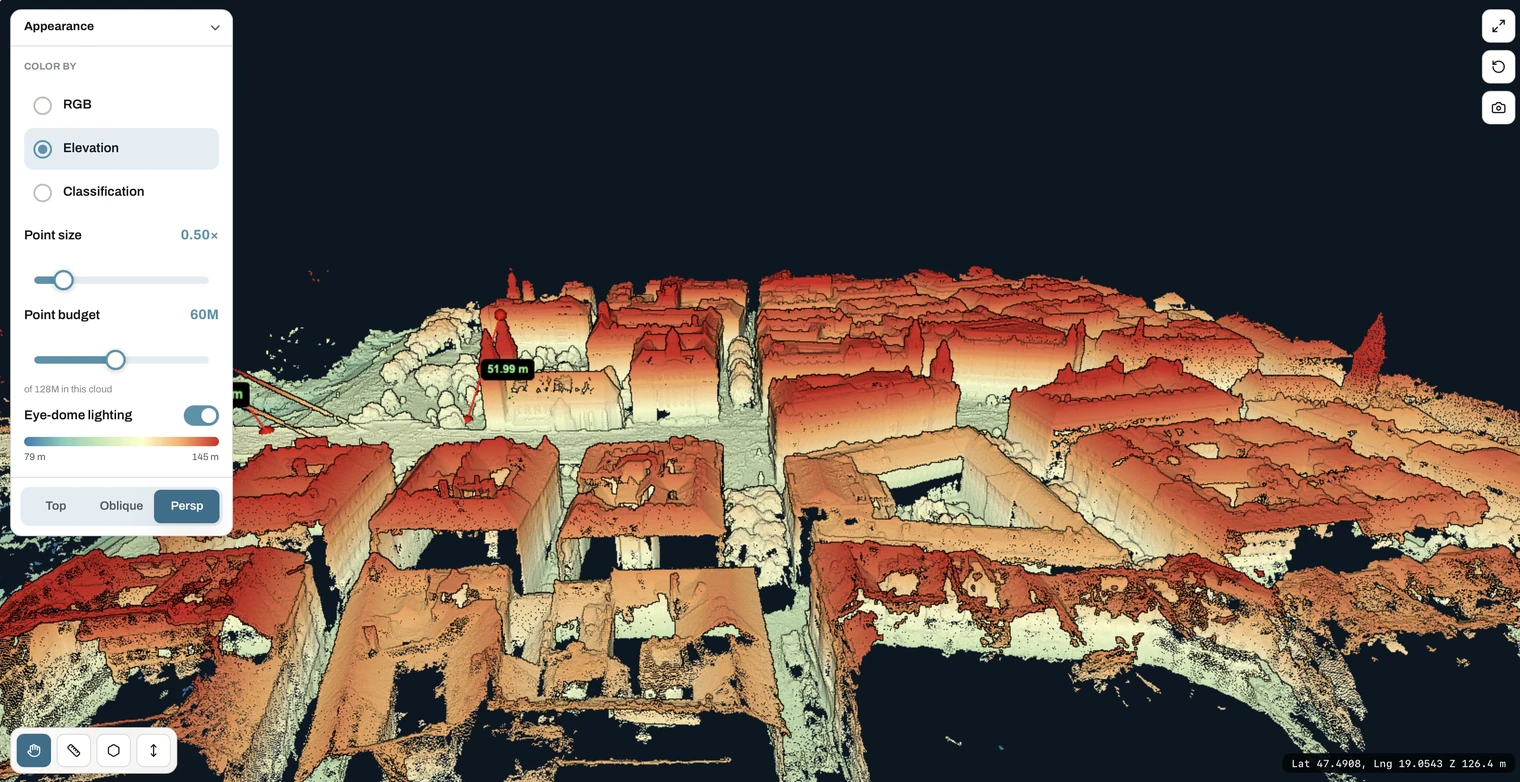
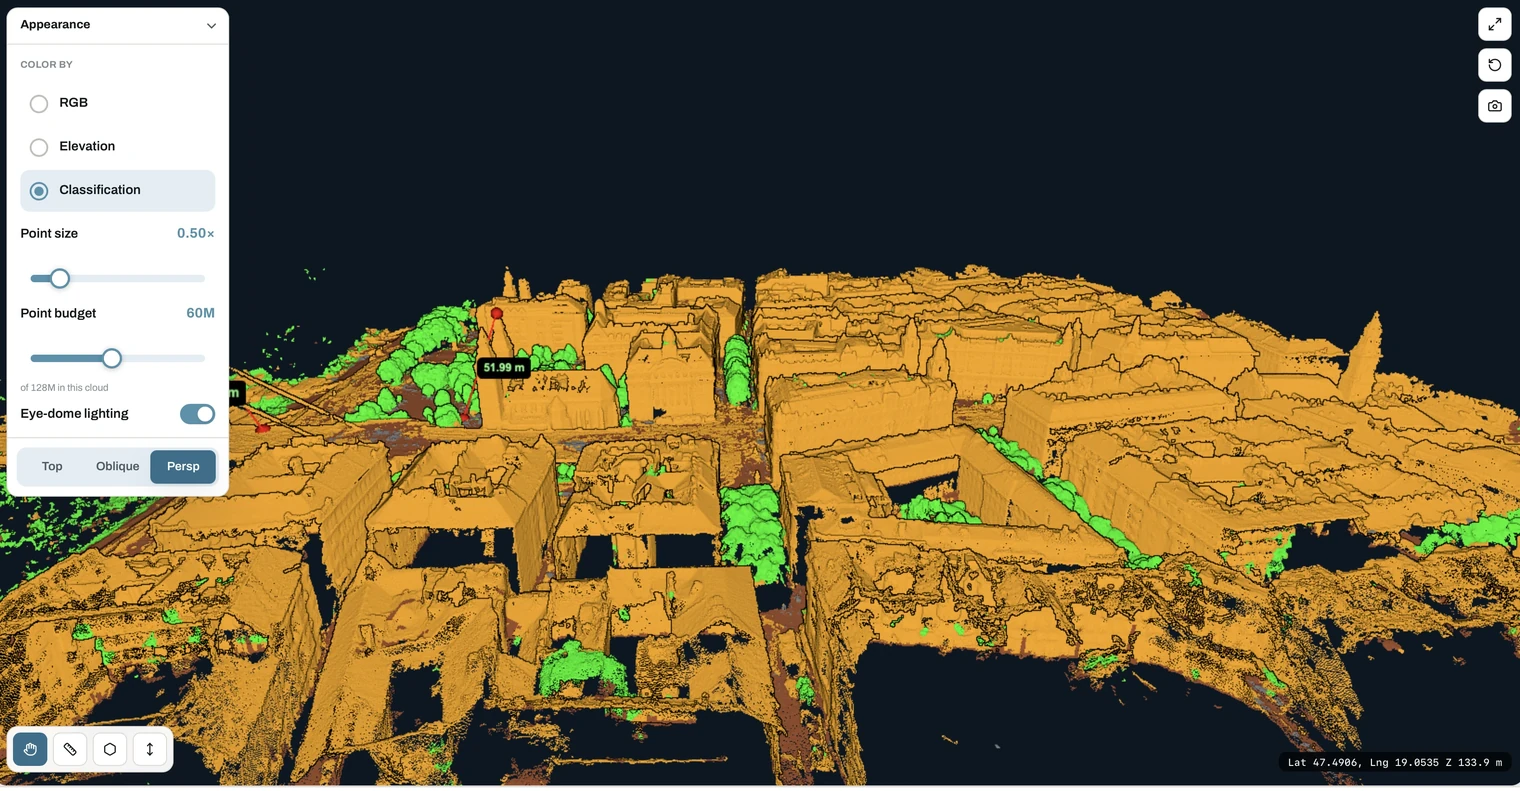
On a slow connection, start with a low point budget to get the scene up quickly, then raise it once you have found the area you care about.
Measuring in 3D
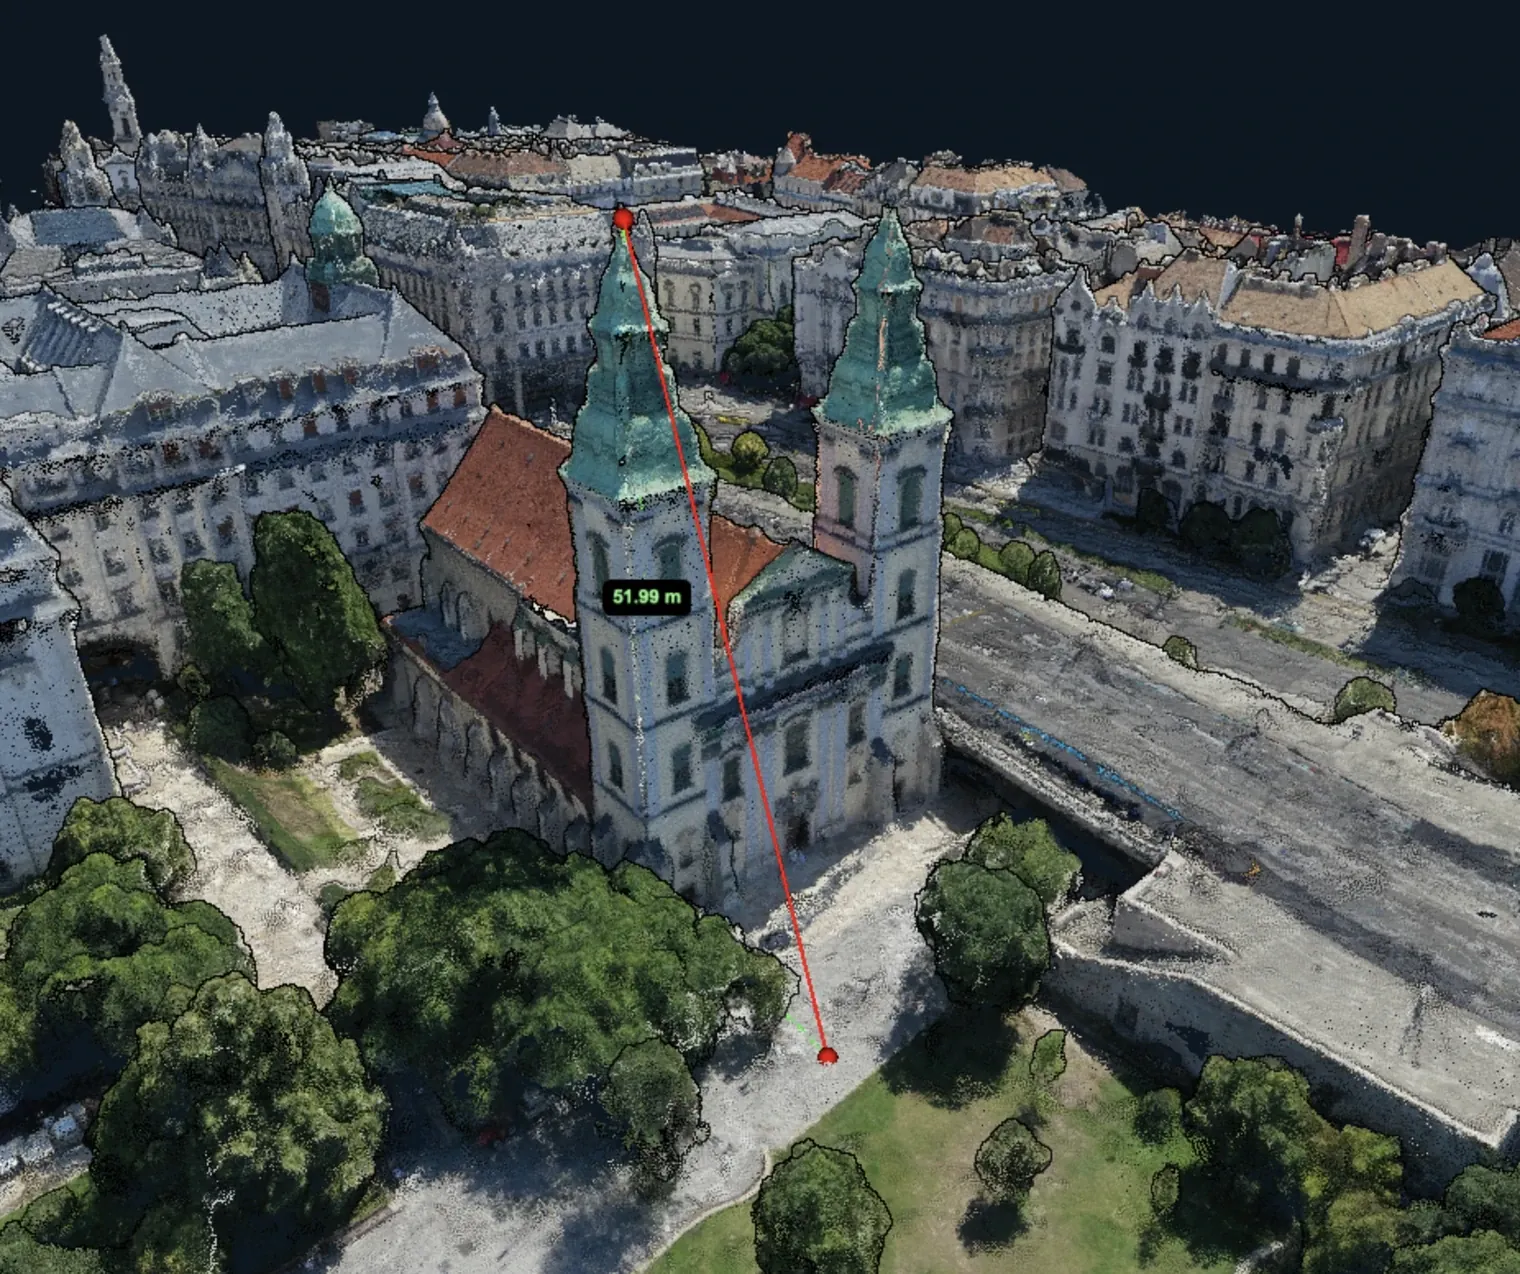
Distance, area and height are available here too, measured in three dimensions rather than projected onto a flat map. This is the right place to measure a building height, a roof slope or the length of an embankment.
Results appear in the same Measurements tab as the 2D ones, and follow the same metric or imperial setting. See measuring on the map.
For the 2D side of the viewer, see map layers.